Signals API
Written By Merve
Last updated About 1 year ago
Foreword
Unlike many other cursor agents, Mues operates entirely within the browser’s sandboxed environment. This design choice is intentional—it aims to minimize integration friction and maximize compatibility across diverse user setups.
However, this approach comes with limitations. Being sandboxed, Mues cannot perform certain organic or native actions that are often integral to human-computer interaction. To address these limitations, Mues exposes a Signals API. This interface surfaces intent-level feedback for operations that could not be completed due to sandbox restrictions. By integrating these signals into your application logic, you can handle edge cases programmatically and maintain a seamless user experience.
1. Verifying It is Available
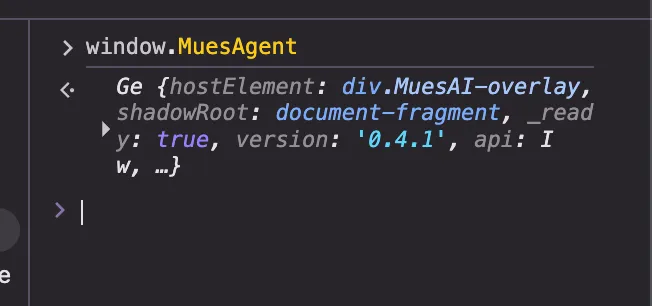
Once you copied the HTML snippet from https://mues.ai/app and embedded it in your app, an UMD called window.MuesAgent will be available that represents the running Mues instance. You can verify it on your DevTools:
2. Listening to Intents
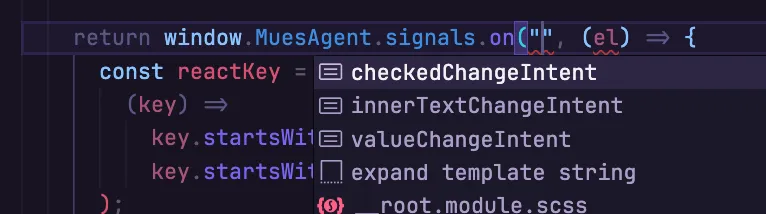
Mues will raise an intent for you to listen and handle accordingly via it’s subscribable API. It is fully typed, and under the hood it uses Evil Martian’s nanoevents for a simple enough event-sub system. Those nanoevents are available under window.MuesAgent.signals. Here’s how you can subscribe to one of its intents on your React project:
Example// Assuming you have an internally stored state
const [value, setValue] = useState("")
useEffect(() => {
if (!window.MuesAgent) return;
// Here, Mues will publish its intent of changing the value of given element
// Since your state is stored internally; Mues changing DOM won't have any effect
// Mues tries its best to trigger your React fiber internals to trigger "onChange"
// However you still have the ability to opt-in, when it fails to meet your internal logic.
return window.MuesAgent.signals.on("valueChangeIntent", (el) => {
setValue(el.target.value);
});
}, []);
// Assuming you have a Custom Controlled Input component
return (
<MyCustomInput value={value} onChange={setValue} />
);3. Available Signals
checkedChangeIntent
Mues publishes that, when it intends to change target element’s el.checked value
ExamplevalueChangeIntent: (el: ValueChangeableElement, value: string) => void;innerTextChangeIntent
Mues publishes that, when it intends to change target element’s el.innerText value
ExampleinnerTextChangeIntent: (el: HTMLElement, value: string) => void;valueChangeIntent
Mues publishes that, when it intends to change target element’s el.value value
ExamplecheckedChangeIntent: (el: CheckedChangeableElement, value: boolean) => void;Note: Mues’s Signal events are fully typed, so you won’t have to memorize the possible events.
4. When to Use It?
You don’t have to integrate every single state-point you have throughout your application. Think of Signals API as a last resort, when Mues cannot perform its intent on any of your Design System Components. Mues already tries its best to trigger well-known frameworks’ internal event mechanisms without dirty hacks.
Long story short; hook into the Signals API, when Mues cannot interact with your system. Take it as a way to accept Mues into your system, where it cannot enter naturally.